What you will build
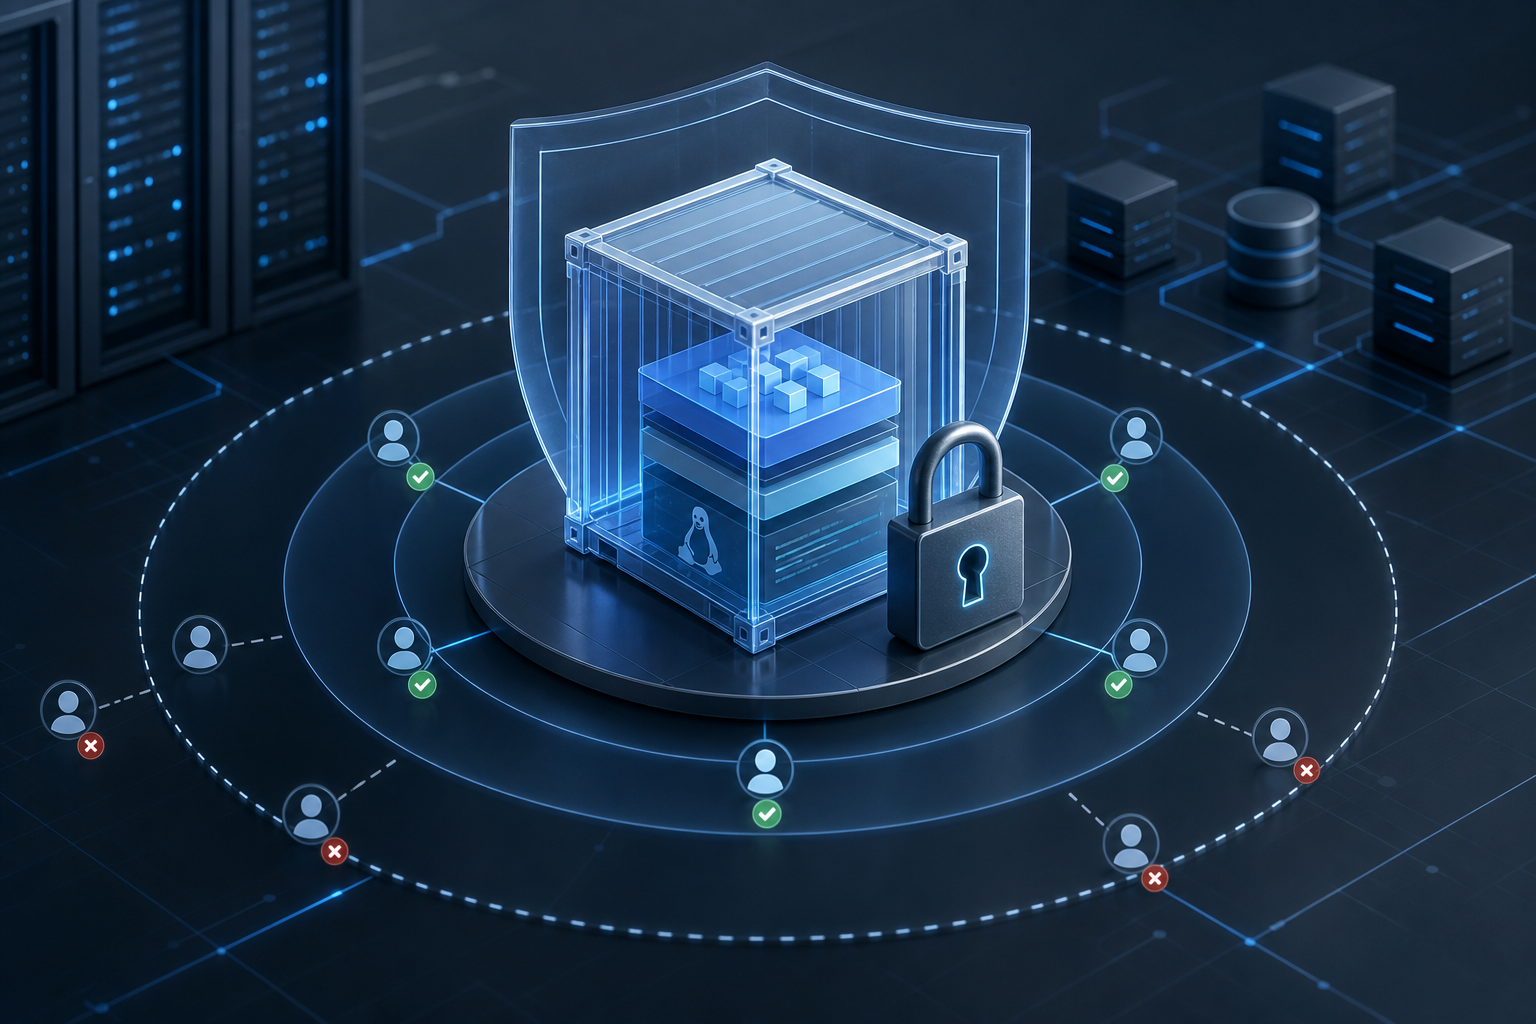
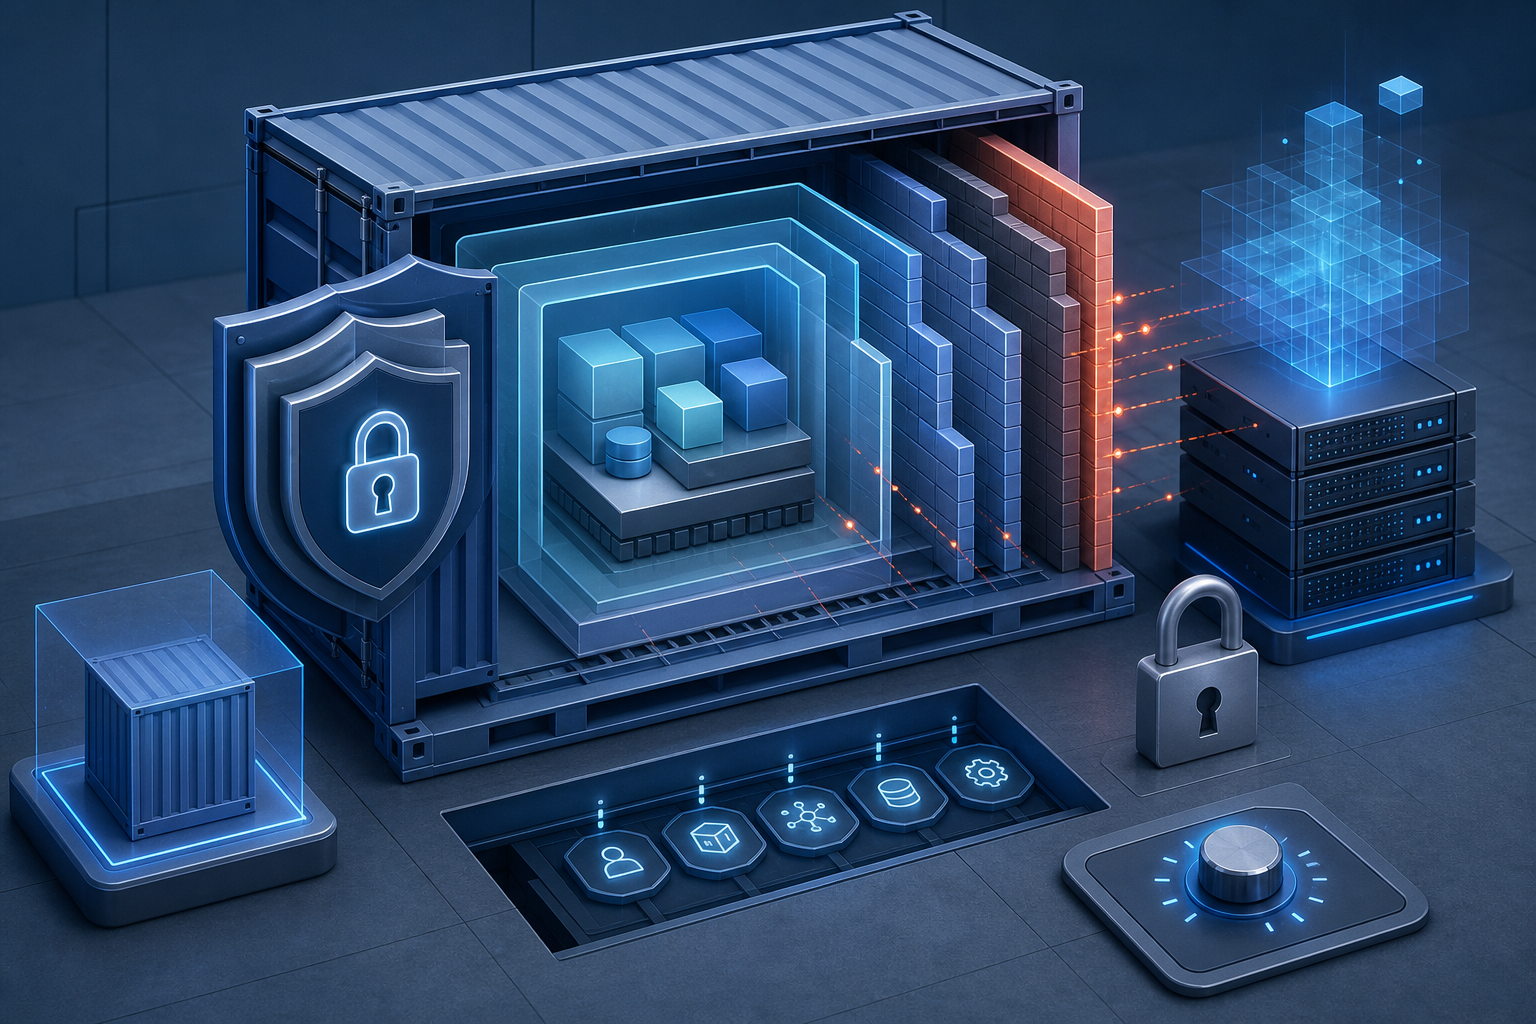
Docker container security hardening is the process of turning a container from a convenient runtime unit into a controlled deployment target with fewer privileges, a smaller attack surface, and explicit runtime restrictions. In practice, that means you will build a repeatable hardening workflow you can apply before shipping an image or running it in production.
By the end of this tutorial, you will be able to decide whether a container is suitable for hardening, apply a practical baseline, verify the runtime settings, and confirm what still needs review before deployment. The finished state is a container that runs with a minimal image, non-root execution, dropped capabilities, read-only or tightly scoped file access where possible, and documented exceptions where the workload truly needs more access.
If you already need a broader baseline overview, Docker Container Hardening: Practical Security Baseline Techniques and Docker Container Hardening: Best Practices for Secure Images cover the surrounding controls in more depth. This tutorial focuses on the operational sequence: prepare, implement, validate, and then keep the configuration under control.
Prerequisites and stop-here checks
Before you change any runtime settings, confirm that the workload can tolerate stronger isolation. Some applications need extra filesystem writes, host mounts, elevated networking, or legacy user assumptions that hardening will expose immediately.
Stop here if any of these are unknown
- You do not know which directories the container must write to.
- The application fails when it runs as a non-root user.
- The container requires host networking, privileged mode, or access to the Docker socket.
- You cannot explain why a capability, port, or mount is needed.
- The image is shared by multiple services and changes could break more than one workload.
If any of those conditions apply, pause and map the workload first. Hardening is safest when the required privileges are already understood.
Step 1: Inventory what the container really needs
Goal
Establish the minimum runtime footprint: filesystem writes, network exposure, user identity, capabilities, volumes, and environment-driven behavior.
Action
Review the Dockerfile, compose file, and startup command together. Look for any of these patterns:
- Writes to
/tmp, application data directories, or log paths - Bind mounts from the host
- Environment variables that control debug or maintenance modes
- Ports the service listens on
- Any use of
--privileged,--cap-add,--network=host, ordocker.sock
If you have a candidate image already, inspect its configuration:
docker image inspect your-image:tag --format '{{json .Config}}' | jq
Expected output
You should know which user the container runs as, what it exposes, and which paths must remain writable.
Validation
Compare the discovered runtime requirements against the actual manifest or orchestration spec. If a port or mount appears in the app but not in the deployment definition, treat that as a gap to resolve before hardening.
Common failure
Teams often harden blindly and then discover the container needs a writable cache directory or a system certificate path. The fix is not to give back broad access; it is to identify the precise path or permission the application needs.
Step 2: Shrink the image before tightening runtime controls
Goal
Reduce the attack surface so the runtime has fewer binaries, libraries, and package managers that an attacker could abuse.
Action
Prefer a minimal base image and use multi-stage builds where build tools do not need to ship into production. If your build currently includes compilers, package managers, or test tooling, separate them from the final image. For a deeper walkthrough of that pattern, see Docker Container Security Scanning with Multi-Stage Builds.
A practical Dockerfile shape looks like this:
FROM golang:1.23 AS build
WORKDIR /src
COPY . .
RUN CGO_ENABLED=0 go build -o /out/app ./cmd/app

FROM alpine:3.20
RUN addgroup -S app && adduser -S app -G app
COPY --from=build /out/app /usr/local/bin/app
USER app
ENTRYPOINT ["/usr/local/bin/app"]
Expected output
The final image should contain only the files needed to run the application, not the full build toolchain.
Validation
Run a shell or package listing check appropriate to your base image. For example, verify that package managers and compilers are absent or limited to what the runtime genuinely needs. Also confirm that the binary starts in the final image without relying on build-stage artifacts.
Common failure
A common mistake is copying too much from the build stage, including source code, credentials, or test assets. Another is using a small base image but leaving unnecessary runtime packages installed.
Step 3: Run as a non-root user
Goal
Prevent the container from running with the default root identity unless there is a documented reason.
Action
Create a dedicated user in the image or specify a numeric user in the runtime spec. Make sure filesystem permissions match the new identity.
Example:
RUN addgroup -S app && adduser -S app -G app
USER app
If the container needs access to a writable directory, create it during build and assign ownership explicitly:
RUN mkdir -p /var/lib/app && chown -R app:app /var/lib/app
Expected output
The main process should start with a non-root UID and only the permissions it needs.
Validation
Check the running container identity:
docker exec your-container id
You should see a non-root user. Also verify that the app can still write only where intended.
Common failure
The most frequent breakage is file permission errors on startup or during log rotation. If that happens, do not switch back to root. Fix the ownership, group access, or write path instead.
Step 4: Remove unnecessary Linux capabilities
Goal
Strip away kernel-level privileges that the application does not require.
Action
Start from the default capability set and remove extras rather than adding permissions reactively. In many cases, you can drop all capabilities and then add back only the one or two proven exceptions. A common baseline is:
docker run --cap-drop=ALL --cap-add=NET_BIND_SERVICE your-image:tag
That example is only appropriate if the service must bind to a privileged port and cannot be reconfigured to use a higher port.
Expected output
The container should retain only the minimum capabilities needed for normal operation.
Validation
Inspect the live container configuration and confirm the capability set matches your intent. Then test the operational path that previously required elevated access, such as binding a port or writing to a system directory.
Common failure
If the container silently depends on a capability you removed, the failure usually appears as a permission error or startup crash. The correct response is to map the exact requirement and add back only that specific capability, not to restore the full default set.
Step 5: Lock down the filesystem and mounts
Goal
Make the container’s root filesystem harder to modify and ensure host access is narrowly scoped.
Action
Where the application allows it, run with a read-only root filesystem and give write access only to the directories that truly need it.
docker run \
  --read-only \
  --tmpfs /tmp \
  --tmpfs /run \
  -v app-data:/var/lib/app \
  your-image:tag
Use bind mounts only when you need direct host-file access, and always map the smallest possible path. Avoid mounting the Docker socket into application containers unless the workload is explicitly a container manager or build system and you have accepted the security implications.
Expected output
The application can read its runtime files, write to designated locations, and fail cleanly if it tries to modify anything else.
Validation
Try creating or editing a file outside the approved writable paths. The container should fail. Then verify that the required write paths still work, including temporary files, logs, and cached data.
Common failure
Some applications write to unexpected paths such as /var/log, /home/app, or a framework-specific cache directory. Read-only mode exposes those assumptions quickly, which is useful, but only if you capture the missing path and add a narrow exception.
Step 6: Restrict networking and exposed ports
Goal
Expose only the traffic the service actually needs and eliminate unnecessary cross-container reachability.
Action
Do not publish ports that are only meant for internal service-to-service traffic. If the application is behind a proxy or service mesh, let that layer handle inbound exposure and keep the application port private. Verify that the container listens on the expected interface and port, usually 0.0.0.0 inside the container only when the platform requires it.
If the service does not need outbound network access, isolate it with the platform’s networking controls rather than depending on the application to behave safely.
Expected output
The container should have only the inbound and outbound reachability needed for its function.
Validation
Confirm the listening ports from inside the container and from the host or orchestration layer. Then test that external access fails where it should and succeeds where it must.
Common failure
A typical mistake is assuming that “not publishing a port” means the service is isolated. It may still be reachable from other containers on the same network unless you control network placement and policy.
Step 7: Add explicit runtime guardrails
Goal
Make the hardening settings repeatable and visible instead of relying on manual docker run flags.
Action
Encode the controls in the Dockerfile, compose file, or deployment manifest where possible. That includes user identity, read-only settings, capability drops, and mount definitions.
Example compose fragment:
services:
  app:
    image: your-image:tag
    user: "10001:10001"
    read_only: true
    cap_drop:
      - ALL
    tmpfs:
      - /tmp
    volumes:
      - app-data:/var/lib/app
Where the workload needs an exception, document the reason in the manifest or change record so future reviewers know it was intentional.
Expected output
The same hardened configuration should be applied every time the container is started.
Validation
Redeploy from the manifest, not from an ad hoc command line, and compare the live container settings to the desired state.
Common failure
Manual hardening often drifts because one engineer tests with extra flags and another deploys from a different file. Encoding the settings in the source of truth prevents that drift.
Step 8: Validate the hardening from the runtime perspective
Goal
Confirm that the container behaves correctly under the restrictions you introduced.
Action
Run a validation pass that checks identity, capabilities, mount behavior, and startup success. A simple checklist is:
- The process runs as the intended non-root user
- Only approved volumes are mounted
- The filesystem is read-only except for explicit writable paths
- The application starts without elevated privileges
- The service responds on the intended port only
If your environment supports it, include an image scan or policy check as part of the build pipeline. Hardening is stronger when configuration checks are automatic, not manual.
Expected output
You should have evidence that the container starts and performs its core function under the reduced privilege set.
Validation
Use both static review and live runtime checks. Static review confirms the manifest, while live validation proves the service still works.
Common failure
A container can look hardened on paper but still run with broad access because the deployment path overrides the image settings. Always verify the runtime result, not just the Dockerfile.
Step 9: Handle exceptions deliberately
Goal
Allow only the minimum exceptions needed for a specific workload and make them easy to audit.
Action
If the application truly needs a capability, writable system path, or elevated port access, document the reason and the operational impact. Tie the exception to a ticket, change request, or owner note so it can be reviewed later.
This is especially important for containers that need to bind privileged ports, mount host paths, or interact with host-level services. Exceptions are acceptable when they are explained and constrained; they are not acceptable when they are accidental.
Expected output
Every deviation from the baseline should have a clear business or technical justification.
Validation
Review the manifest and the runtime state together. If an exception exists, confirm it is the smallest one that allows the workload to function.
Common failure
The common failure mode is accumulating exceptions until the baseline no longer matters. That is how hardened containers quietly become privileged containers again.
Operational follow-up
Goal
Keep the hardening effective after the first deployment.
Action
Re-check the container after any image rebuild, base image upgrade, application change, or deployment manifest edit. Treat those events as security-relevant because they can reintroduce permissions, writable paths, or broad network exposure.
A practical operating rule is to verify the following on every release:
- User identity has not changed unexpectedly
- Capabilities are still minimal
- Mounts still match the approved list
- Writable paths are still narrow
- The image no longer contains build tools or unrelated packages
Expected output
Your hardened settings should remain stable across releases unless a documented exception is approved.
Validation
Compare the current release artifact against the previous approved baseline. If a setting changed, confirm whether it was intentional and whether the risk changed with it.
Common failure
The most common long-term problem is drift. A new package, a debugging flag, or a temporary mount added for troubleshooting can become permanent unless someone reviews it.
A practical hardening decision rule
If you are deciding whether a control belongs in the baseline, ask three questions:
- Does the application need this to perform its intended job?
- Can the requirement be satisfied in a narrower way?
- Will the exception still be acceptable after an upgrade or redeploy?
If the answer to the first question is no, do not add the control. If the answer to the second is yes, choose the narrower control. If the answer to the third is uncertain, document the exception and revisit it before production.
Final verification before production
Before you promote the container, confirm that you can answer these points with evidence:
- The image contains only the runtime components it needs
- The process runs as a non-root user
- Dangerous capabilities are dropped unless a documented exception exists
- The filesystem is constrained to explicit writable paths
- Network exposure is intentional and minimal
- The deployment manifest, not a one-off command, defines the hardening state
That is the practical end state of Docker container security hardening: fewer privileges, fewer exposed paths, and a configuration you can verify again after every change. If you can reproduce the same secure runtime state from the manifest and prove the workload still functions, the container is in a production-ready hardened shape.
Use this guidance together with Shielded VM features and Hyper-V Secure Boot to connect the workflow with related operational context already available on the site.