Introduction
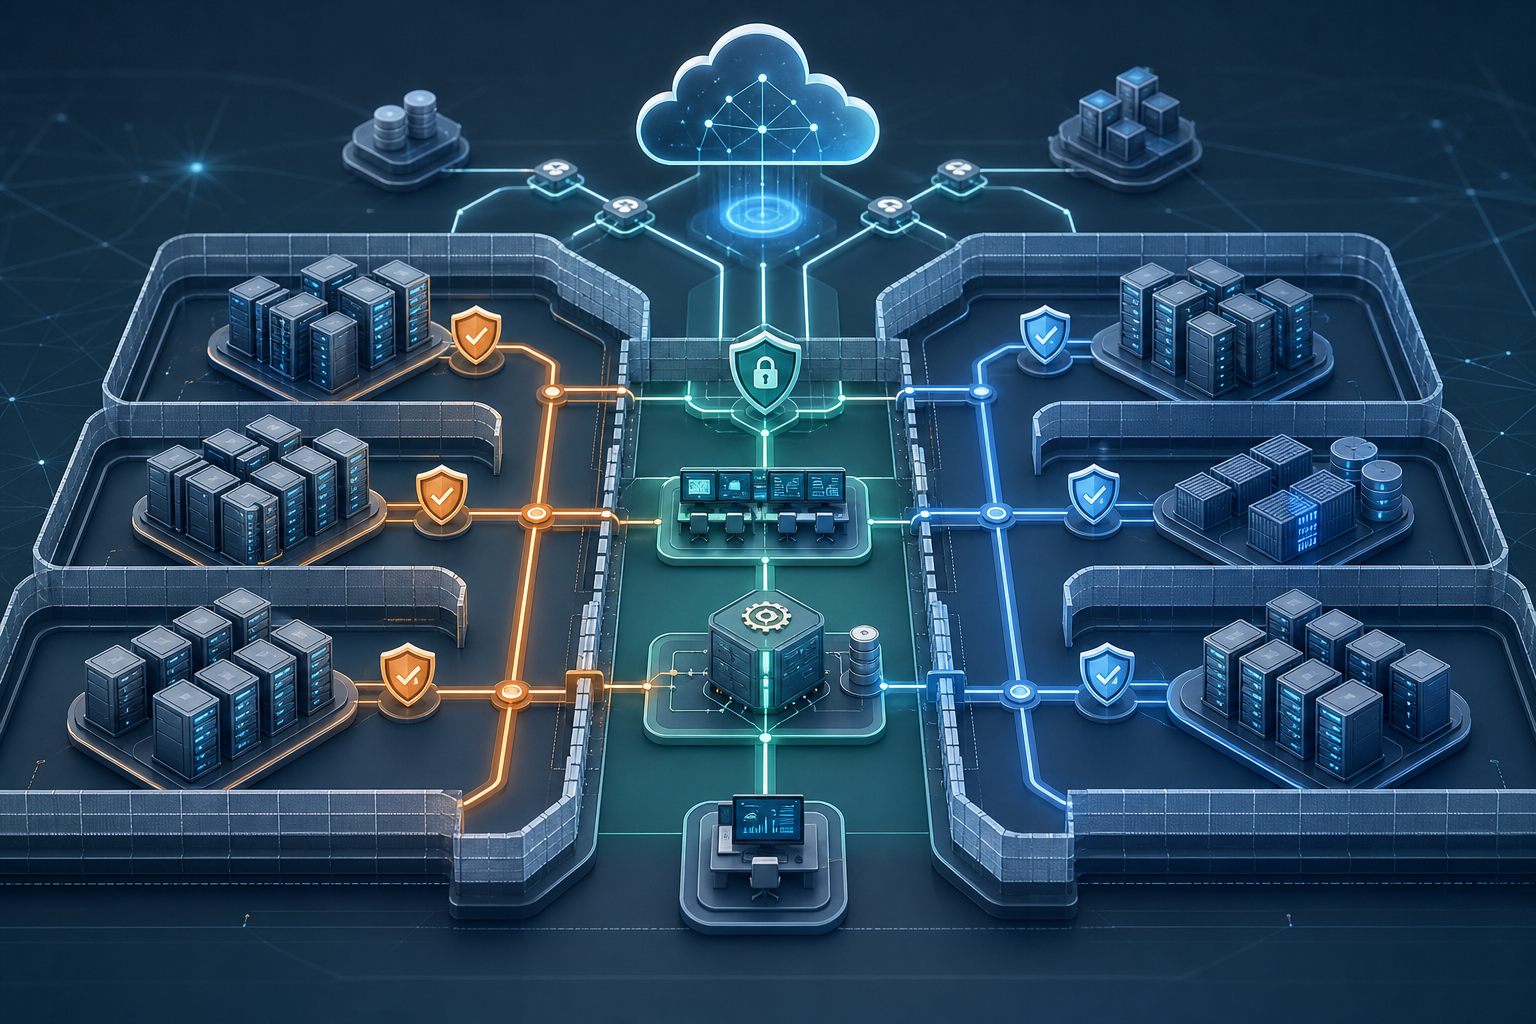
The practical problem in AWS virtualization is not launching an EC2 instance; it is making sure that instance sits inside a network design that limits exposure, supports administration, and still allows the application to function. A default launch can leave too much open, especially when security groups, routing, public IP assignment, and identity controls are treated as separate tasks instead of one workflow.
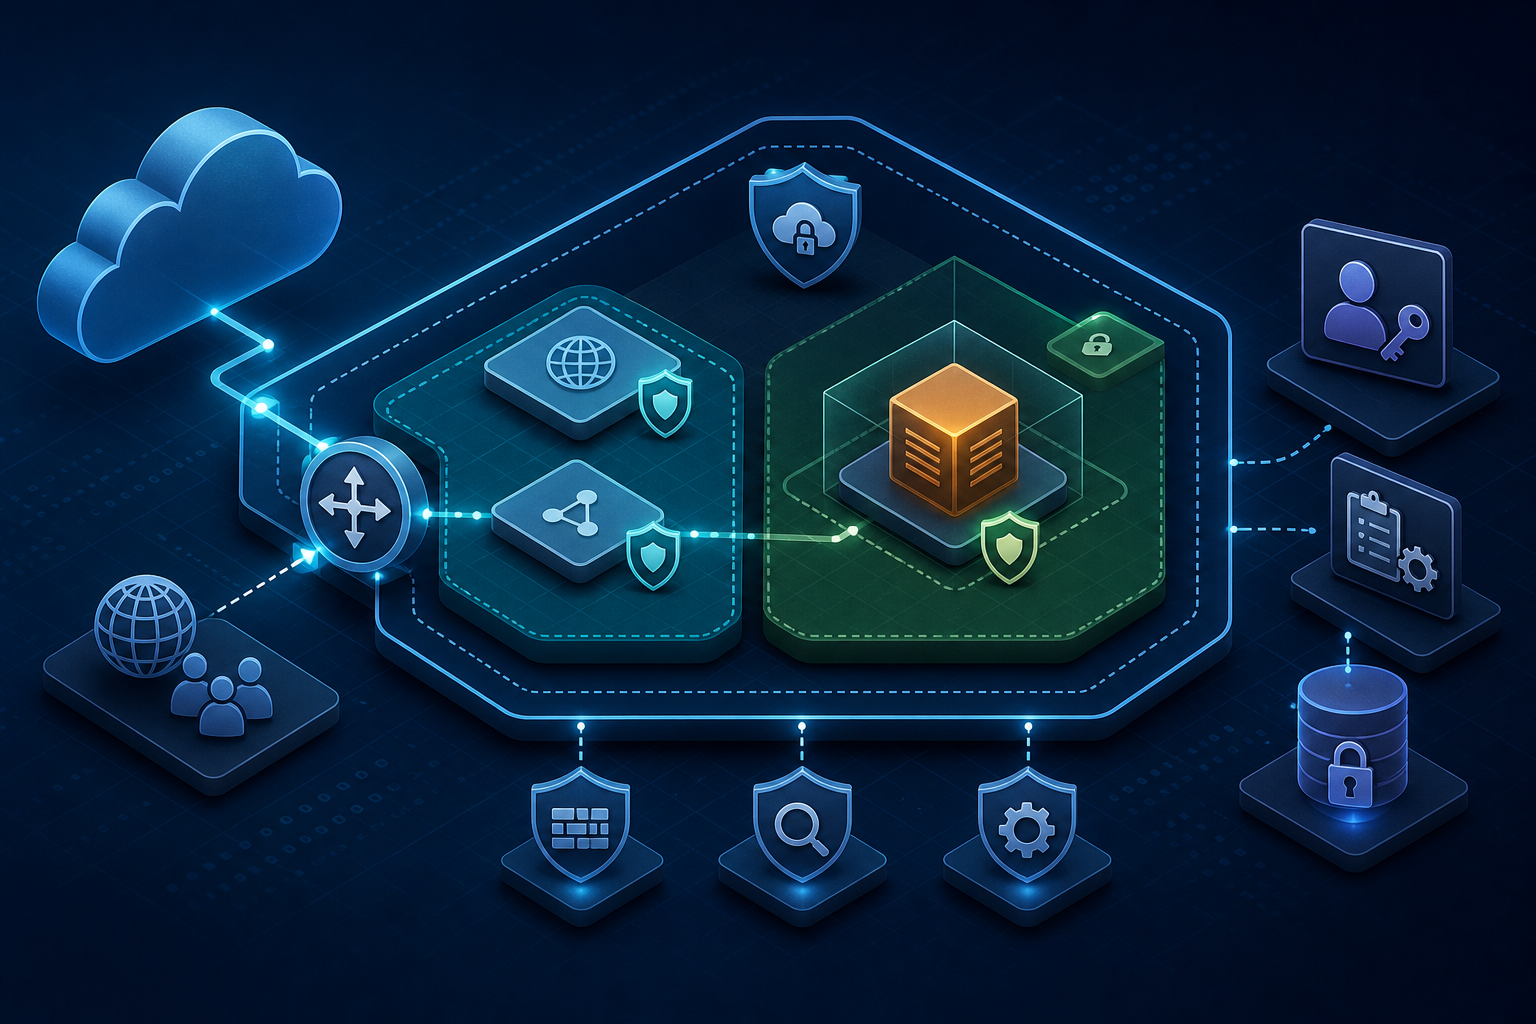
In this tutorial, you will build a secure EC2 network layout with a clear trust boundary: a VPC with segmented subnets, controlled internet access, tightly scoped security groups, and IAM-based administration. You will also validate the result with concrete checks so you can decide whether the design is ready for production use.
What you are building
The finished state should look like this:
- A VPC that contains at least one public subnet and one private subnet.
- An internet gateway attached only to the VPC path that needs outbound internet access.
- A route table that sends only the public subnet to the internet gateway.
- EC2 instances placed in the correct subnet based on their role.
- Security groups that allow only required ports and sources.
- IAM roles used for instance access and operational tasks instead of long-lived credentials.
- Validation evidence that confirms the instance is reachable only where intended.
If you need a broader view of subnet trust boundaries before you begin, AWS Virtualization: Designing Secure Hybrid Network Segmentation is useful context, but this tutorial stays focused on the EC2 build itself.
Prerequisites
Before you start, verify that you have the following:
- Permission to create VPC resources, EC2 instances, security groups, IAM roles, and key pairs.
- A region selected for the deployment.
- An IP range for the VPC that does not overlap with existing network ranges you may later connect through VPN or Direct Connect.
- An approved inbound access model for administration, such as a bastion host, Systems Manager Session Manager, or a restricted corporate source range.
- A plan for where application traffic should come from and where it should go.
Stop here if any of these are unresolved
Do not continue if:
- You do not know which subnet should be public and which should be private.
- You cannot name the exact administrative source IP ranges.
- You have not decided whether the instance needs inbound internet access at all.
- You have not confirmed who owns the IAM permissions and key material.
These gaps are the common cause of insecure "temporary" setups that stay in place longer than intended.
Step 1: Define the network boundary
Goal
Create a VPC layout that separates internet-facing traffic from internal workloads.
Action
Choose a VPC CIDR block that fits the workload and leaves room for growth. Then split it into at least two subnets:
- A public subnet for components that must reach or be reached from the internet.
- A private subnet for application workloads that should not have direct inbound internet exposure.
If the instance must be private, plan an alternative access path such as Session Manager or a bastion host in the public subnet. Do not place a sensitive workload in a public subnet just to simplify troubleshooting.
Expected output
You have a clear subnet map and role assignment before any instance is launched.
Validation
Confirm that each subnet has a documented purpose and that the public subnet is the only one expected to route to an internet gateway.
Common failure
A frequent mistake is creating only one subnet and using it for everything. That makes later hardening harder because the network layout already assumes broad exposure.
Step 2: Attach internet access only where needed
Goal
Allow internet access for public-facing resources without exposing the entire VPC.
Action
Create and attach an internet gateway to the VPC. Then configure route tables so that only the public subnet has a default route to the internet gateway. Keep private subnets without a direct route to the internet gateway.
If the private subnet needs outbound updates or package retrieval, use a controlled egress method such as a NAT gateway or a tightly managed proxy path. Do not add a direct internet gateway route to the private subnet.
Expected output
Public-subnet resources can reach the internet as defined, and private-subnet resources cannot be reached directly from the internet.
Validation
Review the effective route tables:
- Public subnet should have
0.0.0.0/0pointing to the internet gateway. - Private subnet should not have that route.
From a private instance, verify that unsolicited inbound connections from the internet are not possible. From a public instance, verify that only the required service ports are reachable.
Common failure
The most common routing error is associating the wrong route table with the wrong subnet. Another is assuming that "no public IP" is enough protection even when the subnet itself has a direct internet route.
Step 3: Create security groups as the primary traffic control
Goal
Restrict inbound and outbound traffic at the instance level using least privilege.
Action
Create one security group per role or trust boundary. Define only the ports required by that workload. For example:
- Web tier: allow inbound HTTPS from approved client sources or a load balancer security group.
- Application tier: allow inbound only from the web tier security group.
- Administration: allow SSH only from a controlled source range or a bastion security group, if SSH is required at all.
Prefer security group references over broad CIDR ranges when traffic is internal to the VPC. For instance, an application instance should usually trust the web security group, not the entire subnet.
For a deeper treatment of instance identity and traffic filtering, see Hardening Amazon EC2 with IAM Roles and Security Groups.
Expected output
Each instance has a narrowly scoped security group that reflects its role, not a generic default policy.
Validation
Check that:
- No security group allows
0.0.0.0/0on administrative ports such as 22 or 3389 unless there is a documented exception and compensating control. - Inbound rules exist only for required application ports.
- Outbound rules are not broader than necessary for the workload.
Test connectivity from an allowed source and an unallowed source. The allowed path should succeed; the unallowed path should fail.
Common failure
A common problem is reusing one "temporary" security group across multiple roles. That tends to accumulate exceptions and makes later audits difficult.
Step 4: Launch EC2 into the correct subnet
Goal
Place the instance in the intended network zone with the right access model.
Action
Launch the EC2 instance into the subnet that matches its role:
- Public subnet only if the instance must accept direct inbound internet traffic.
- Private subnet for application and data workloads that should not be directly reachable.
Attach the security group created for that role. Assign a public IP only if the role explicitly requires one. If the instance is private, use the approved administration path rather than making the instance public for convenience.
Expected output
The instance appears in the right subnet, with the right security group, and the public IP state matches the design.
Validation
Confirm all of the following:
- Subnet placement matches the intended trust level.
- Public IPv4 assignment is present only if required.
- The instance is reachable only through the approved path.
If the instance is meant to host a service, verify that the service is reachable from the expected source and blocked from everything else.
Common failure
A common misconfiguration is launching into the correct VPC but the wrong subnet. Another is attaching the right security group but leaving a public IP enabled on a workload that should remain private.
Step 5: Use IAM roles instead of long-lived credentials
Goal
Give the instance only the permissions it needs without embedding secrets on disk.
Action
Create an IAM role for the instance and attach only the permissions required for operations such as reading configuration, pulling artifacts, writing logs, or using managed session access. Use the role on the instance rather than copying access keys onto the system.
If the workload does not need AWS API access, keep the role minimal. If it does, scope permissions to the smallest resource set possible. Avoid using broad administrator permissions as a shortcut.
Expected output
The instance can perform its required cloud operations without stored access keys.
Validation
Verify that:
- The instance profile is attached.
- The instance can call only the intended APIs.
- No static credentials are stored in user data, shell profiles, or application config files.
Common failure
A frequent failure is adding credentials "just for testing" and forgetting to remove them. Another is granting a role with far more privilege than the workload needs, which increases blast radius if the instance is compromised.
Step 6: Encrypt storage and control who can attach it
Goal
Protect data at rest and reduce the chance of unauthorized volume use.
Action
Ensure that EBS volumes attached to the instance are encrypted and that access to create, attach, and snapshot volumes is limited by IAM policy. If your environment uses customer-managed keys, verify that the key policy allows only the intended administrators and automation paths.
If you need a dedicated hardening walkthrough for storage and launch controls, AWS Virtualization Security Hardening for EC2 and EBS Encryption covers the storage side in more depth.
Expected output
Instance storage is encrypted and governed by policy, not left to default assumptions.
Validation
Check that:
- The root and attached volumes are encrypted.
- The correct key is used where policy requires a specific one.
- Only approved roles can attach or snapshot the volume.
Common failure
The usual issue is assuming encryption is enabled because one volume is encrypted, while an attached data volume is not. Another is not confirming which key policy applies in the target region or account.
Step 7: Validate access paths before production
Goal
Prove that the design works as intended and that unintended paths are blocked.
Action
Run validation from both allowed and disallowed sources. At a minimum, test:
- Inbound application traffic from the approved source.
- Administrative access only through the approved path.
- Denial of direct access from an unapproved source.
- Outbound connectivity only where the workload needs it.
If you are using SSH, use it only as part of an approved admin path and not as the default answer for all troubleshooting. If you are using managed session access, confirm that the IAM permissions and instance agent requirements are satisfied.
Expected output
You have evidence that permitted traffic works and forbidden traffic is blocked.
Validation
Capture the actual result of each check. Useful evidence includes:
- Route table review.
- Security group rule review.
- Successful connection from the approved source.
- Failed connection from a denied source.
- IAM role test showing the instance can access only intended resources.
Common failure
A very common problem is testing only the happy path. If you do not explicitly test denied access, you do not know whether the exposure is actually controlled.
Step 8: Operationalize the setup
Goal
Make the secure network design maintainable after the initial deployment.
Action
Document the subnet purpose, security group ownership, IAM role purpose, and the approved admin path. Add configuration review to your change process so new inbound rules, new routes, or new roles are checked before they reach production. Where possible, use infrastructure as code so the network layout can be reviewed and recreated consistently.
If you manage hybrid traffic patterns or later connect this environment to on-premises networks, preserve the same trust-boundary discipline so routes do not bypass the intended controls.
Expected output
The design can be recreated, reviewed, and audited instead of depending on manual console changes.
Validation
Before production use, confirm that:
- Every ingress rule has a documented business reason.
- Every subnet route has an owner and purpose.
- The instance role does not exceed its required permissions.
- You can explain how the instance is administered if it has no public IP.
Common failure
The biggest operational failure is letting temporary exceptions become permanent. Another is failing to record why a rule exists, which makes future cleanup risky and slow.
Practical decision rules
Use these rules to decide whether your setup is secure enough for the workload:
- If the instance does not need direct internet reachability, place it in a private subnet.
- If a port is not required, do not open it "just in case."
- If the source is internal, prefer a security group reference over a wide CIDR rule.
- If the instance needs cloud API access, use an IAM role instead of access keys.
- If you cannot validate the deny path, do not treat the design as complete.
Final verification checklist
Before you move to production, confirm the following:
- The VPC CIDR does not overlap with other planned networks.
- Public and private subnets are used according to role.
- The internet gateway route exists only where needed.
- Security groups allow only necessary sources and ports.
- The instance has no unnecessary public IP exposure.
- IAM permissions are least privilege and role-based.
- EBS volumes are encrypted and controlled.
- Allowed and denied connectivity tests both produce the expected result.
If all of those checks pass, you have moved beyond a default EC2 launch and into a defensible network design for secure AWS virtualization. That is the point at which the instance is not just running, but running inside a control model you can explain, validate, and operate with confidence.
Use this guidance together with Hyper-V VM checkpoints and VM snapshot management best practices to connect the workflow with related operational context already available on the site.